BOOK COMPLIMENTARY IN-HOME or SHOWROOM CONSULTATION
Both Locations
Call Us
BOOK COMPLIMENTARY IN-HOME or SHOWROOM CONSULTATION
Navigating the World of Laminate Flooring Installation: A Step-by-Step Guide for Discerning Homeowners
If you're looking for a flooring option that offers both style and affordability without sacrificing durability, laminate flooring might be the perfect solution for your home.
Although traditionally considered a budget-friendly alternative to
hardwood flooring, laminate flooring has undergone significant advancements in recent years. It now offers a wide range of design options and high-quality materials. This comprehensive step-by-step guide from our pro flooring contractor will take you through the world of laminate flooring installation, ensuring you make an informed decision for your home.
Share this page:
Step 1: Choose Your Laminate Flooring Installation Type & Style
Flooring is a significant investment requiring careful thought when choosing the type and style for your laminate floor installation. There are several factors to consider, including:
Traffic
Laminate floors are rated by the Abrasion Criteria (AC) rating on a scale from 1 to 5. The higher the AC rating, the more durable the floor. Your residential floors should be rated between 3 to 4.
Color
Your flooring should create a natural flow throughout your home. Lighter-toned woods are popular for their airier feel, ideal for open-concept homes. However, medium tones work well if you want a cozier feeling, while darker tones are elegant and formal. Don’t forget about contrast.
High contrast tends to be overly dramatic, while going with no contrast might feel too sedate. If the flooring flows through your entire home, consider the colors in each room. If you have the same color throughout the home, you can decide what floors complement that color best. However, if the colors vary from room to room, a neutral medium tone helps create a sense of unity throughout your space.
Texture
Laminate floors come in different textures. Handscraped floors create a “restored” wood look ideal for
rustic homes, while embossed flooring mimics a natural wood feel. You can also choose smoother finishes for a sleek, modern look in matte or gloss.
Type
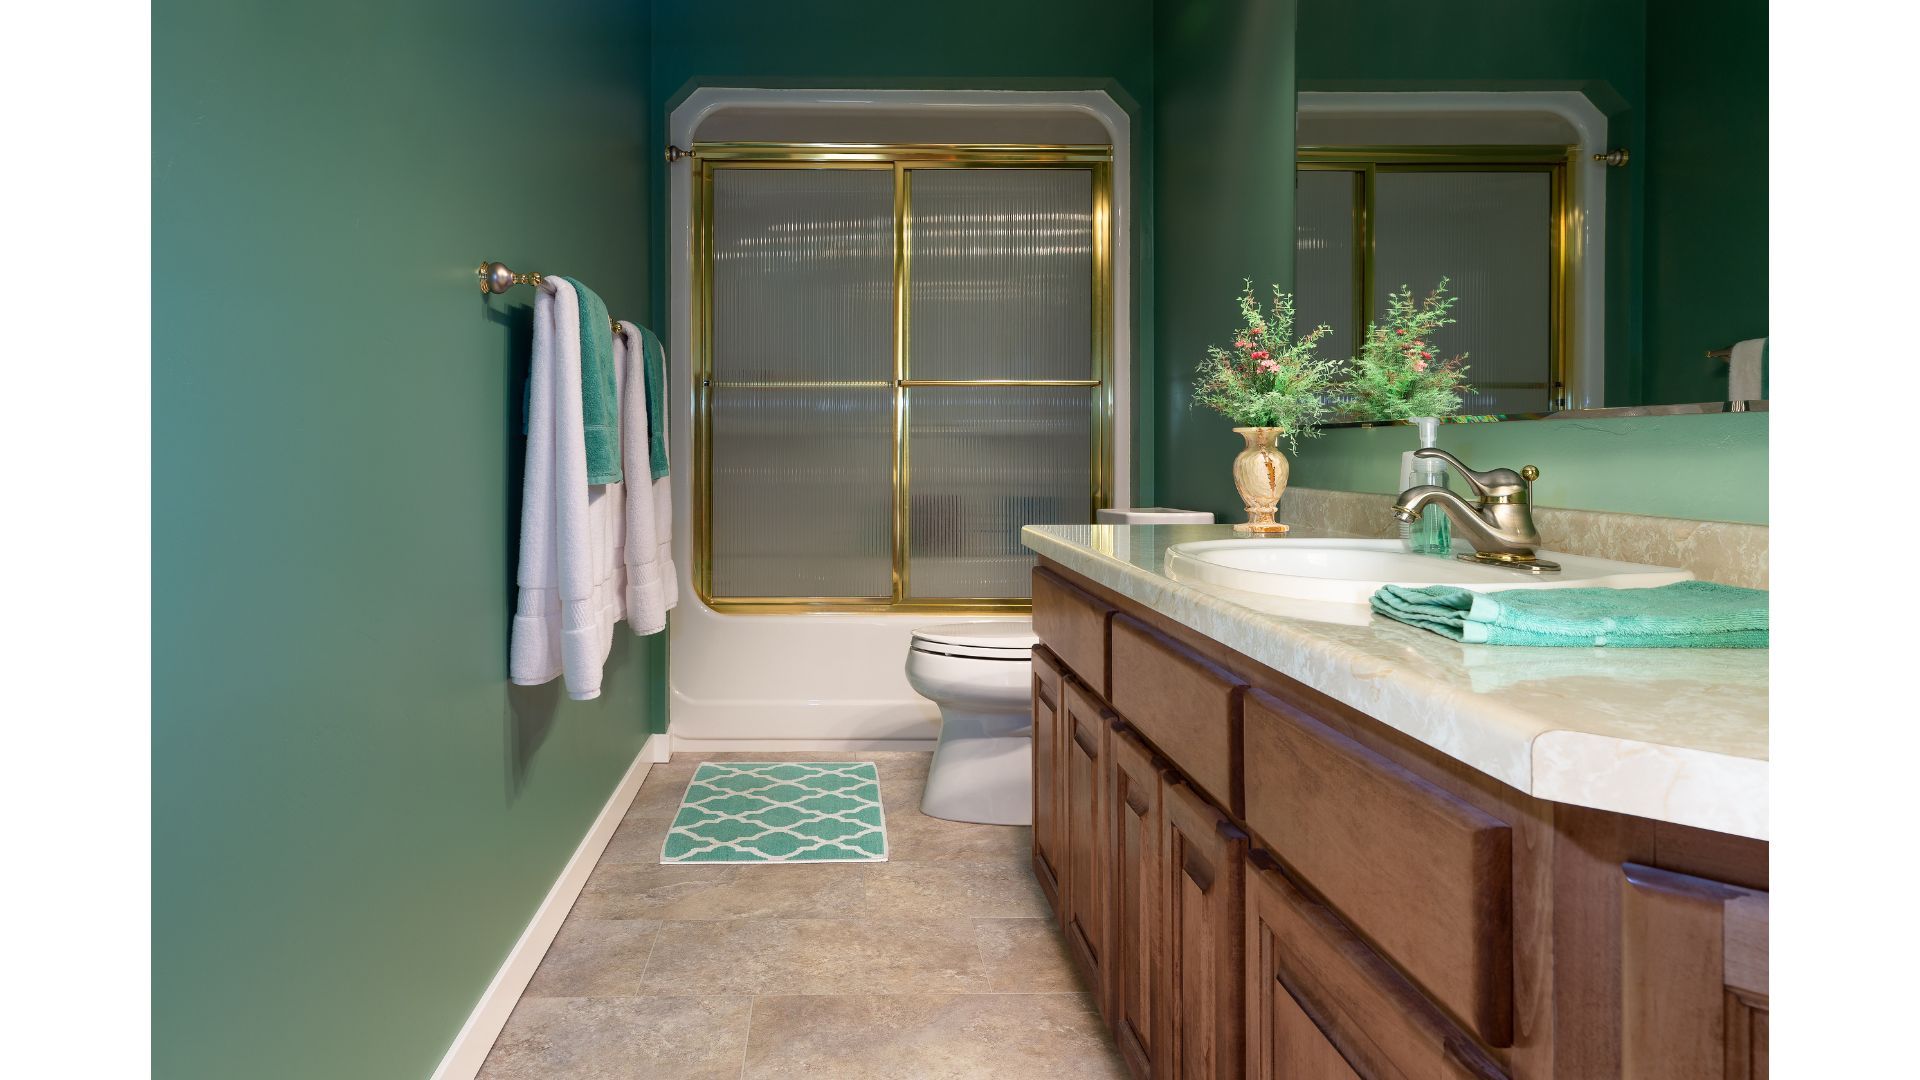
You also have your choice of laminate types. The wood look is ideal for just about any room in the home, while tile/stone is perfect for kitchens, laundry rooms, bathrooms, and entries.
It helps to see samples of the flooring in your home to ensure you’ll love the look and feel of your laminate floor installation.
Step 2: Acclimate Your New Flooring
“Acclimating” allows laminate planks to adjust to the humidity and temperature of your home. Before you begin, your laminate should sit in the room where you’re installing them for at least 24 hours.
Step 3: Prep Your Sub Floors for Your Laminate Flooring Installation
When installing laminate flooring, a level subfloor clear of debris provides the right base for your new floors. To achieve this, follow these steps:
- Remove your baseboards and molding.
- Remove the existing floors.
- Inspect the subfloor for damage and areas that appear uneven.
- If you have uneven concrete subfloors, use a patching compound.
- For wood subfloors, remove damaged boards and jutting nails or screws.
Tip: If you need to level your subfloor, sand before applying your patching compound.
Step 4: Lay the Underlayment for Laminate Flooring
Basements and high-humidity rooms require a vapor barrier before flooring installation. If you don’t need a vapor barrier, a foam underlayment helps even out floors while providing cushioning and a noise barrier. Lay underlayment as follows:
- Lay your underlayment into rows and trim it using a utility knife.
- When installing your underlayment, each row should touch but not overlap so that planks remain even.
- Seal the seams with duct tape to hold the underlayment in place and/or seal the vapor barrier.
Tip: To skip this step, choose underlayment/vapor barrier combos or laminate flooring with suitable underlayment attached.
Step 5: Measure and Adjust Door Jambs
New floors impact your door jamb height. Before installation, measure for adjustments:
- Slide underlayment and a plank under your door jamb.
- Trace a guideline on the jamb with a pencil.
- Cut along the guideline with a jamb saw.
Tip: You can also measure for new jambs or molding you plan to install for a snug fit.
Step 6: Decide Where to Begin
You want your first planks to be installed either parallel to the longest wall or the spot in the room that serves as your focal point.
Tip: If you have a door on a short wall, use this wall as your starting wall so you have uncut edges for your threshold.
Step 7: Measure for First and Last Rows
Measure using the following calculations:
- The width of the longest wall, divided by the width of your laminate planks or tiles, to determine the width of the final row of planks you lay.
- A 3/8-inch gap is required along walls to account for expansion due to humidity and temperature changes.
- If the last row is less than 3.5 inches wide, installing the width needed between the first and last rows is often best.
- To calculate how much width you need to cut for your first and last rows, measure your plank width and add it to the width required for your previous row and then divide it by two.
Step 8: Start Cutting Your First and Last Rows
Check the laminate manufacturer’s cutting instructions before you begin. Although you can use your choice of saws, including table, circular, or miter saws, we recommend a diamond blade for the cleanest cuts and less risk of damaging your blade.
- Make sure your calculations are correct (the old measure twice, cut once rule)
- Always cut finished side up.
- Cover the finished side with duct tape to mark planks and reduce damage, such as splintering as you cut.
- When cutting multiple planks, clamp them together to make even cuts.
Step 9: Install the First Row
Place 3/8-inch spacers along the walls to hold your planks in place and ensure your gaps are even.
- The first row of planks lies lengthwise with the tongue side against your first wall.
- The second plank tongue should slip into the grooves and snap in place when you press on them.
- Measure the final plank length, less your 3/8-inch gap.
Step 10: Install the Remaining Rows
To continue your rows, use the last plank cut if it is over a foot long to start the next row. If it’s too short, cut a new plank that is at least a foot long. Staggering each row is a must to add stability.
- As you lay the rows, stagger the seams to adjacent rows by at least a foot.
- Angle each plank so it goes into the groove and press each plank into place.
- Keep planks nice and tight, following the manufacturer’s instructions.
- Trim each end plank, including your 3/8-inch gap.
- Follow the same steps for each row.
Step 11: Finish Installing Laminate Flooring
Remove your spacers and make sure the planks feel secure. Next, install your baseboards and finish with quarter-round molding with finishing nails. Depending on whether you have doorways or other flooring types adjacent to your new laminate installation, you might also require threshold finishes.
Discover more in our "Ultimate Guide to Flooring Contractor Services" for a successful renovation!
Share this page:

About the Author:
Since 2014, Nick Patel and the team at SCV Floorsmith have provided high-quality flooring services to homeowners in Naperville, South Barrington, and the surrounding areas. With over 5000 projects completed successfully and more than 30 years of industry experience, you can be confident that SCV Floorsmith has the experience and expertise to handle your next flooring project.
Site Map
Call Us
630-333-0925 (South Barrington, IL)
630-825-8088 (Naperville, IL)
Email Us
Follow
Business Hours
- Mon - Fri
- -
- Saturday
- -
- Sunday
- -
SCV Floorsmith is pleased to offer top quality flooring solutions to Algonquin • Arlington Heights • Aurora • Barrington • Barrington Hills • Batavia • Bloomingdale • Bolingbrook • Carol Stream • Downers Grove • Elgin • Elk Grove Village • Geneva • Glen Ellyn • Hoffman Estates • Inverness • Lake Zurich • Lisle • Lombard • Naperville • Palatine • Plainfield • Romeoville • Roselle • Schaumburg • South Barrington • South Elgin • St. Charles • Streamwood • Warrenville • West Chicago • Wheaton • Woodridge and surrounding communities
© 2024 SCV Floorsmith. All rights reserved.


